Backpack Sandwiches
I’ve struggled a bit with hiking lunches. I want something portable and filling but not messy and filled with empty calories. And, I wanted something shelf-stable. I do not want anyone getting sick from from our hiking snacks. Add to this, my 6 year-old has let’s say, a sensitive palate. Currently, the list of foods approved by him tops out at about 8. But now on that list, backpack sandwiches!
Why it works
These sandwiches are portable, yummy and free from problematic condiments like mayo. And, they are scrumptious!
I made these ahead of time and froze them. Then I moved them to the fridge a day before our hike. When the big day came, I threw them in the backpack and few hours later they were perfect.
Who’s going to love it
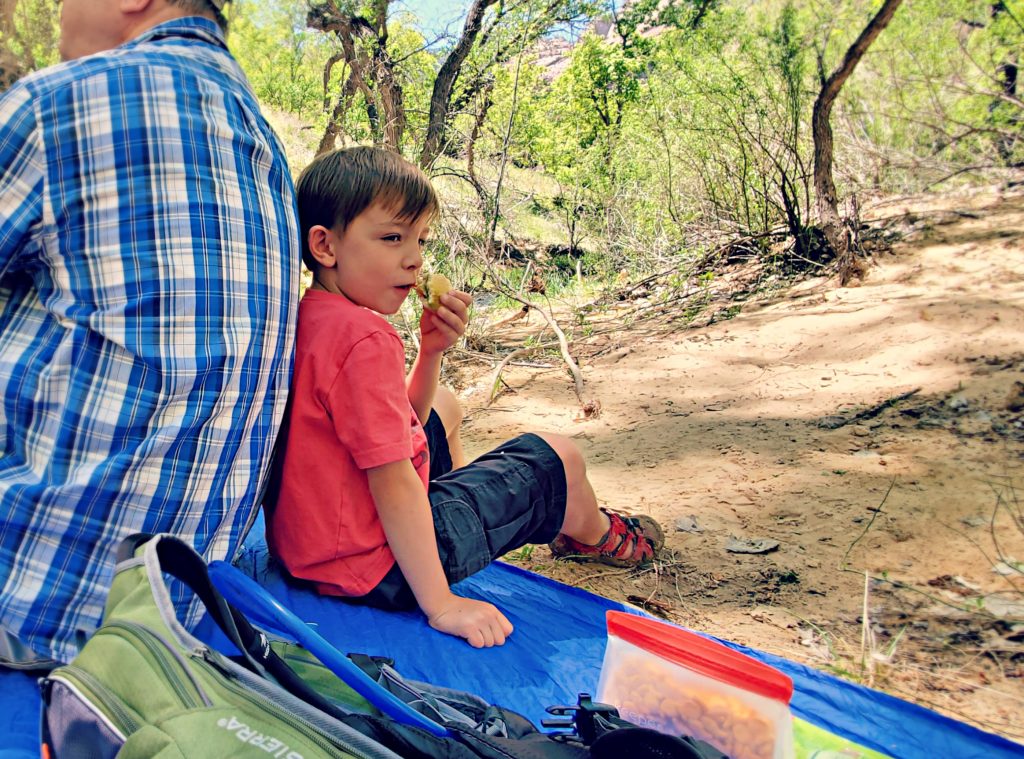
Hungry hikers who need to take a break and refuel.
Things to consider
You have a few options with these. We used regular organic all purpose flour for the dough but if you are looking for a gluten free option, you could use a gluten free flour blend. If you are an all veggie friend, these are perfect to stuff full of veggies and maybe even some soy cheese if that is to your liking. The point is, you have plenty of flexibility for all your diet needs. However, these may not work great for my keto friends out there.
While you can freeze these sandwiches ahead of time so they are ready when you are, you do need to give the dough a night to rest. So make sure you plan to prep your dough the night before you are going to prep and cook your sandwiches.
Let’s get started!
I used my favorite recipe for pizza dough created by the wonderful folks at the Fontera kitchen. That recipe is as follows.
- 2cups (10 ounces) all-purpose flour
- 1/4teaspoon instant or rapid-rise yeast
- 1teaspoon Salt
- 1/2cup room-temperature water
- 1/3cup beer – a light lager is good here
- A fewtablespoons good quality olive oil
In a medium bowl, mix together the flour, yeast and salt. Measure in the water and beer. Stir to combine everything into a rough-looking mass. Cover with plastic wrap and leave at room temperature for as few as 8 up to 18 hours
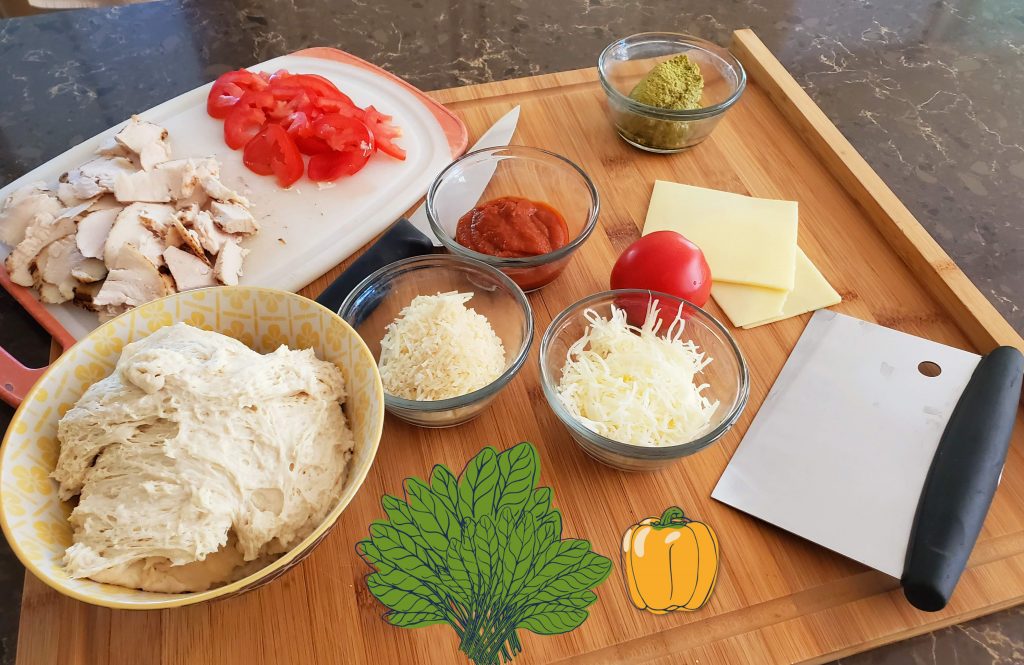
Fillings
- Sliced grilled chicken
- Sliced tomatoes (sun dried tomatoes would also be a great option here)
- Pesto and/or pizza sauce
- Mozzarella cheese
- Parmesan cheese
- Sliced yellow peppers
- Spinach
- Whatever else you like to fill your sandwiches with! Don’t be shy here. I had Mr. Sensitive palate to worry about, hopefully you don’t.
Tricks of the trade
- Rolling pins or your favorite substitute.
- Cutting board
- Sheet pan prepped with a light coat of oil to prevent sticking.
- Extra flour to reduce sticking.
- knives for dicing
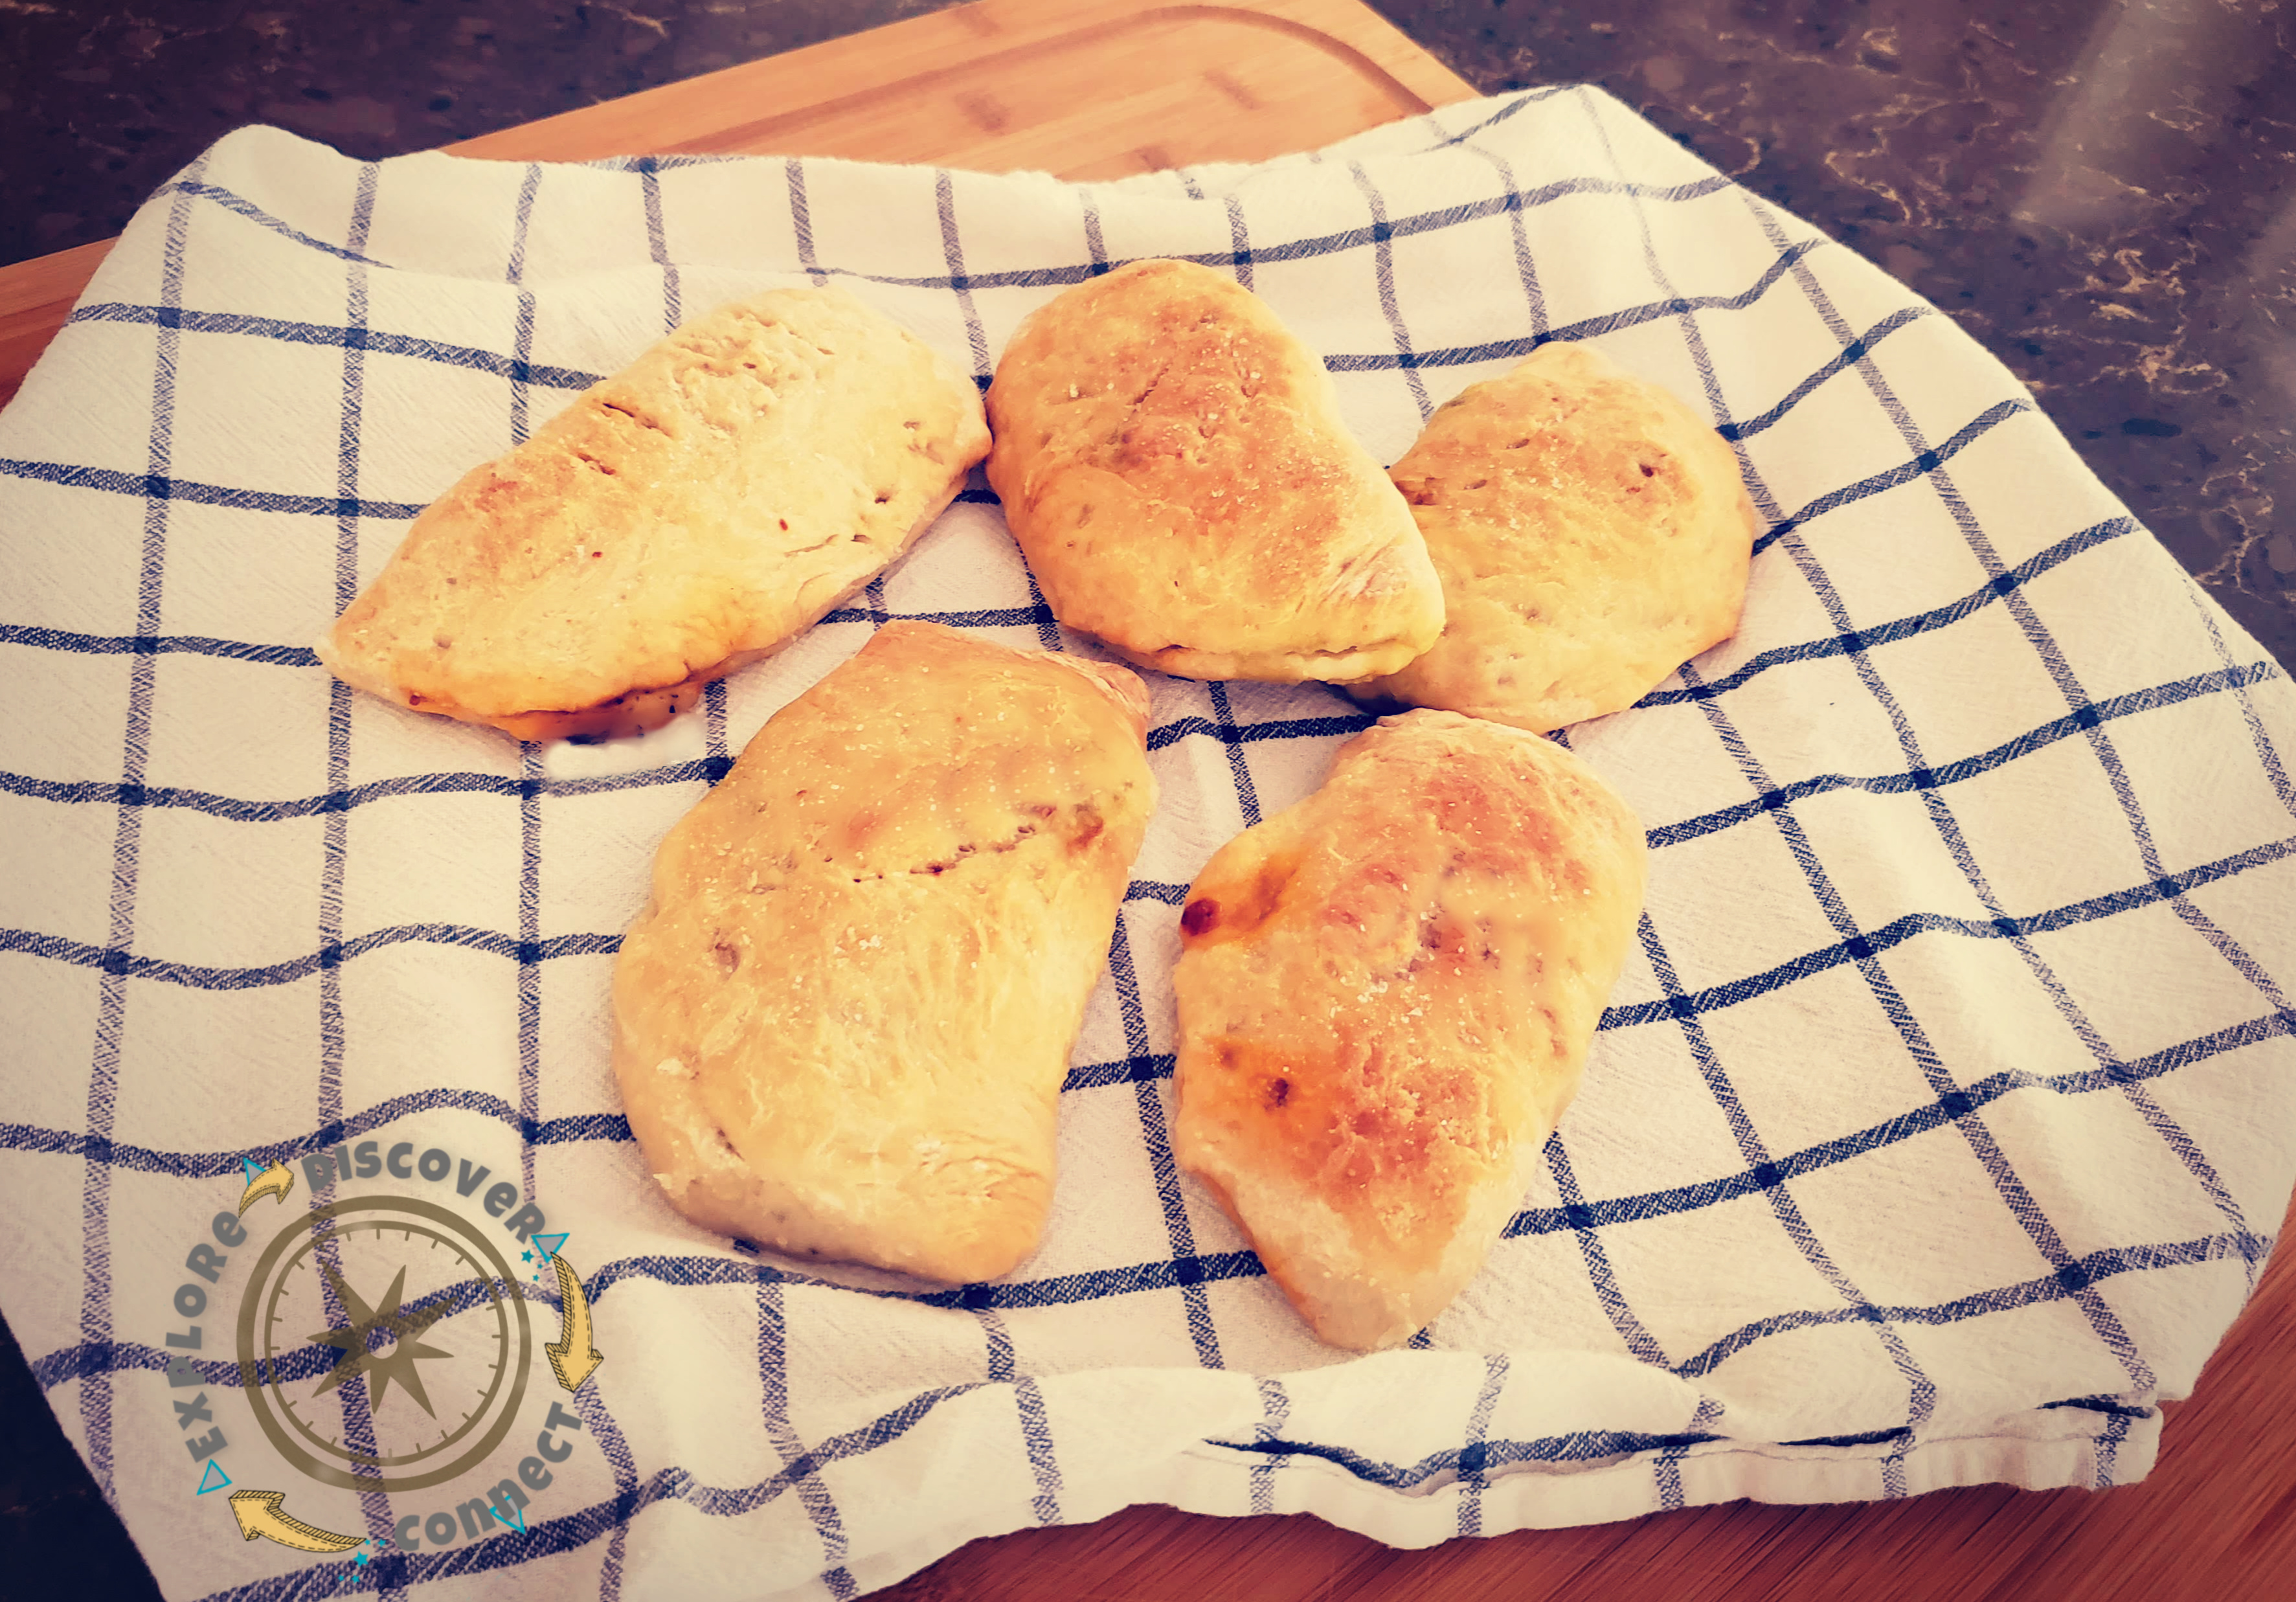
Putting it all together
Preheat the oven to 425 degrees.. I divided the dough into 5 equal portions and rolled them out one at a time on a lightly floured surface into ovals as thin as possible while still being able to manipulate the dough without tearing it. Then I got to the fillings. Pick a mid point on your rolled out dough and stick to keeping the fillings in the center and one side of the dough (you are going to fold the other end of the dough over the fillings like a large dumpling). Careful not to overfill. You will still need to transfer these from your work surface to the sheet pan for baking.
- Filling 1: Start with your sauce. Pesto, layered with: sliced grilled chicken, tomato slices and mozzarella cheese.
- Filling 2: Starting with your pizza sauce, layering in, sliced grilled chicken, tomato slices and mozzarella and parmesan cheese, and ending with a bit more sauce over the layered goodies. This one was the clear winner.
As I mentioned, I was able to freeze these a week ahead of time and defrost them a day before hiking.
Now you have your snacks, go outside and have an adventure!